6-week engineering course
Engineering Fundamentals
Learn how engineers design, build, test, and improve solutions through six hands-on challenges.
- Ages
- Grades 2-5
- Length
- 6 lessons
- Per lesson
- 45-75 minutes
- You need
- Paper & tape
No computer, no kit, and no engineering background needed.
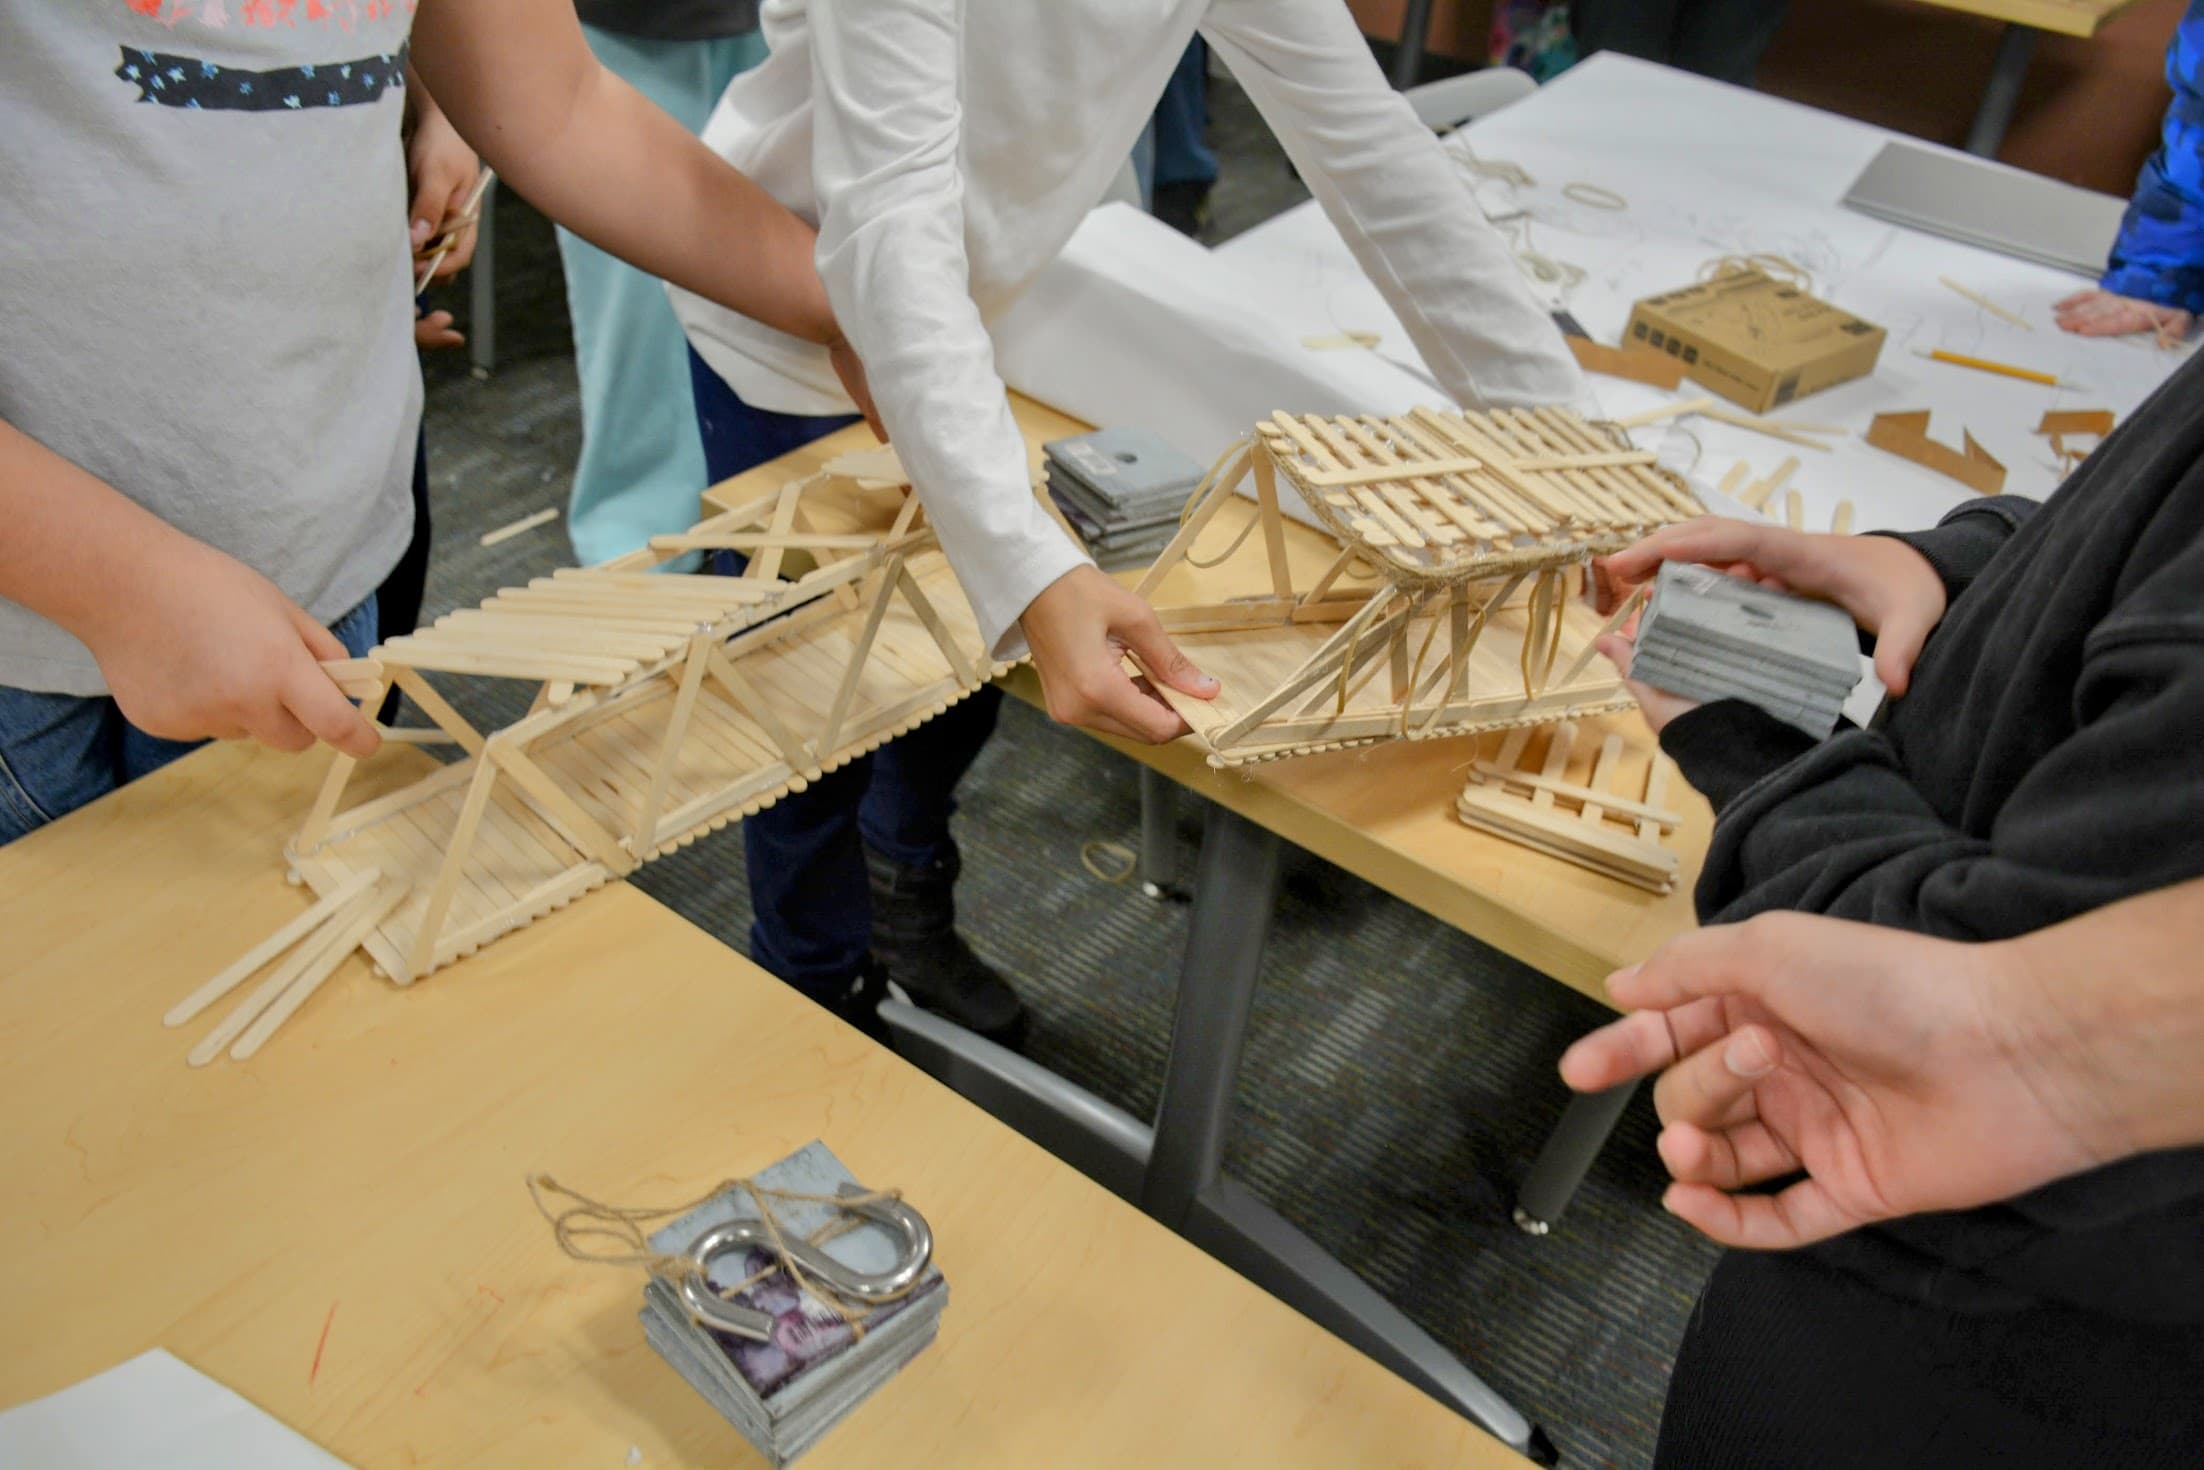
Six challenges. Build it, test it, watch it fail, make it better.
The builds
Six things you'll actually make
Every lesson ends with something you can hold, load up, knock over, and rebuild better. All of it comes from paper, cardboard, tape, and string.
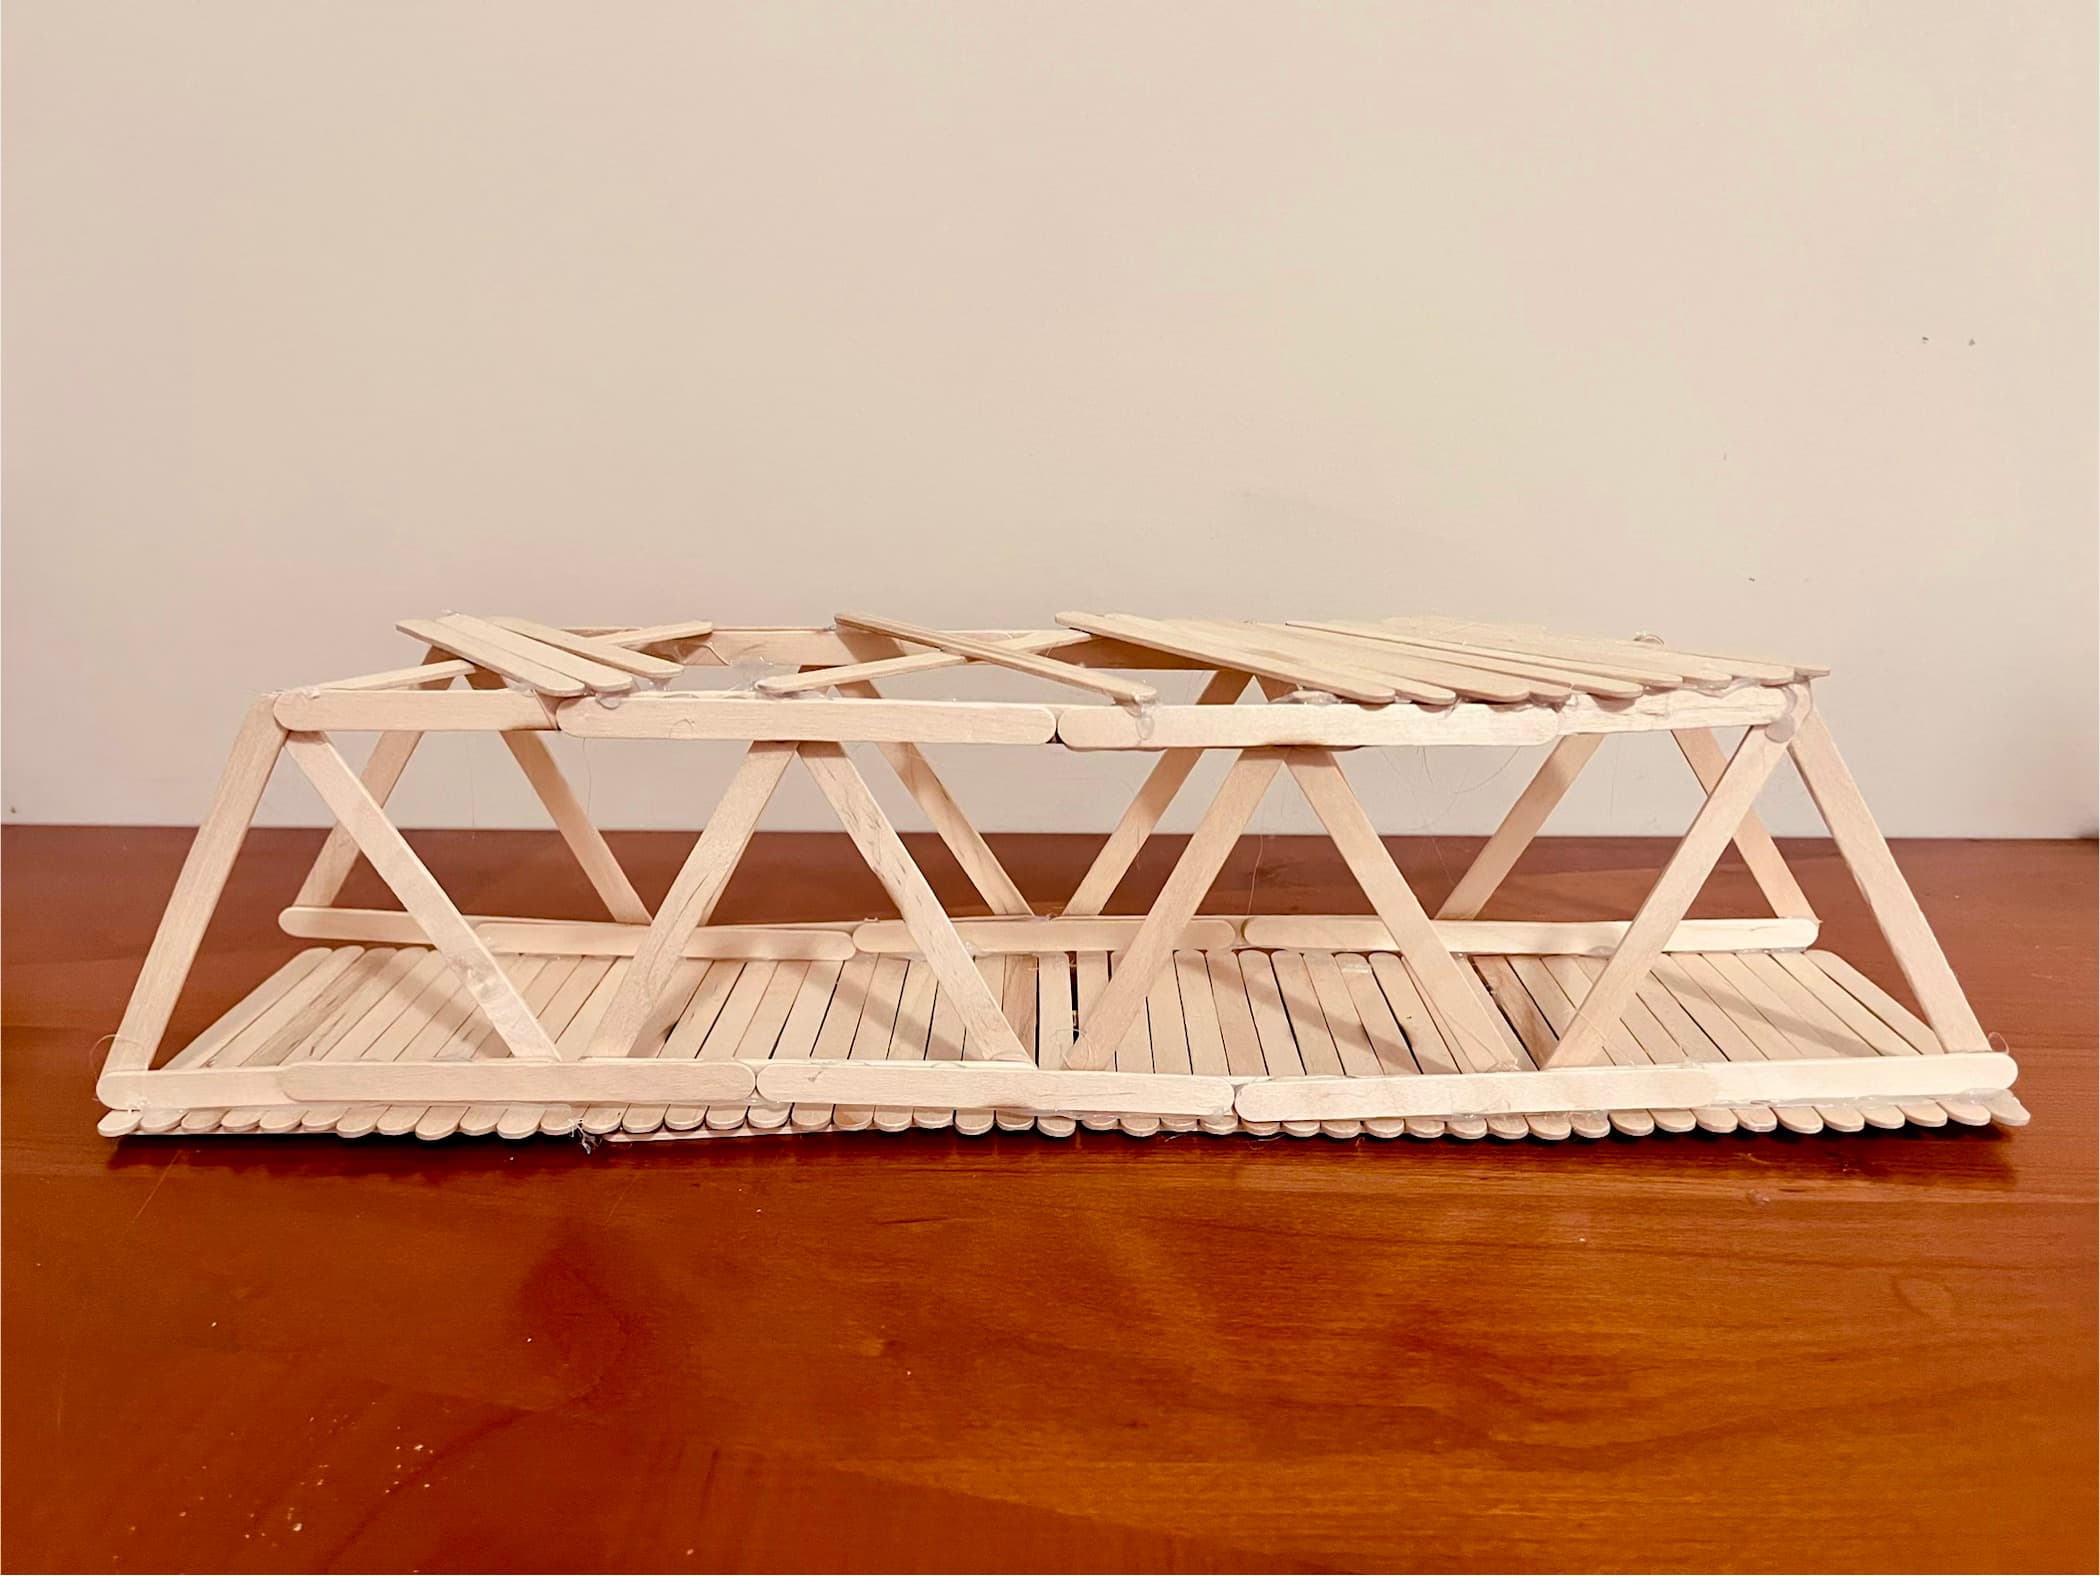
Bridges and towers: find out how shape - not strength - carries the weight.
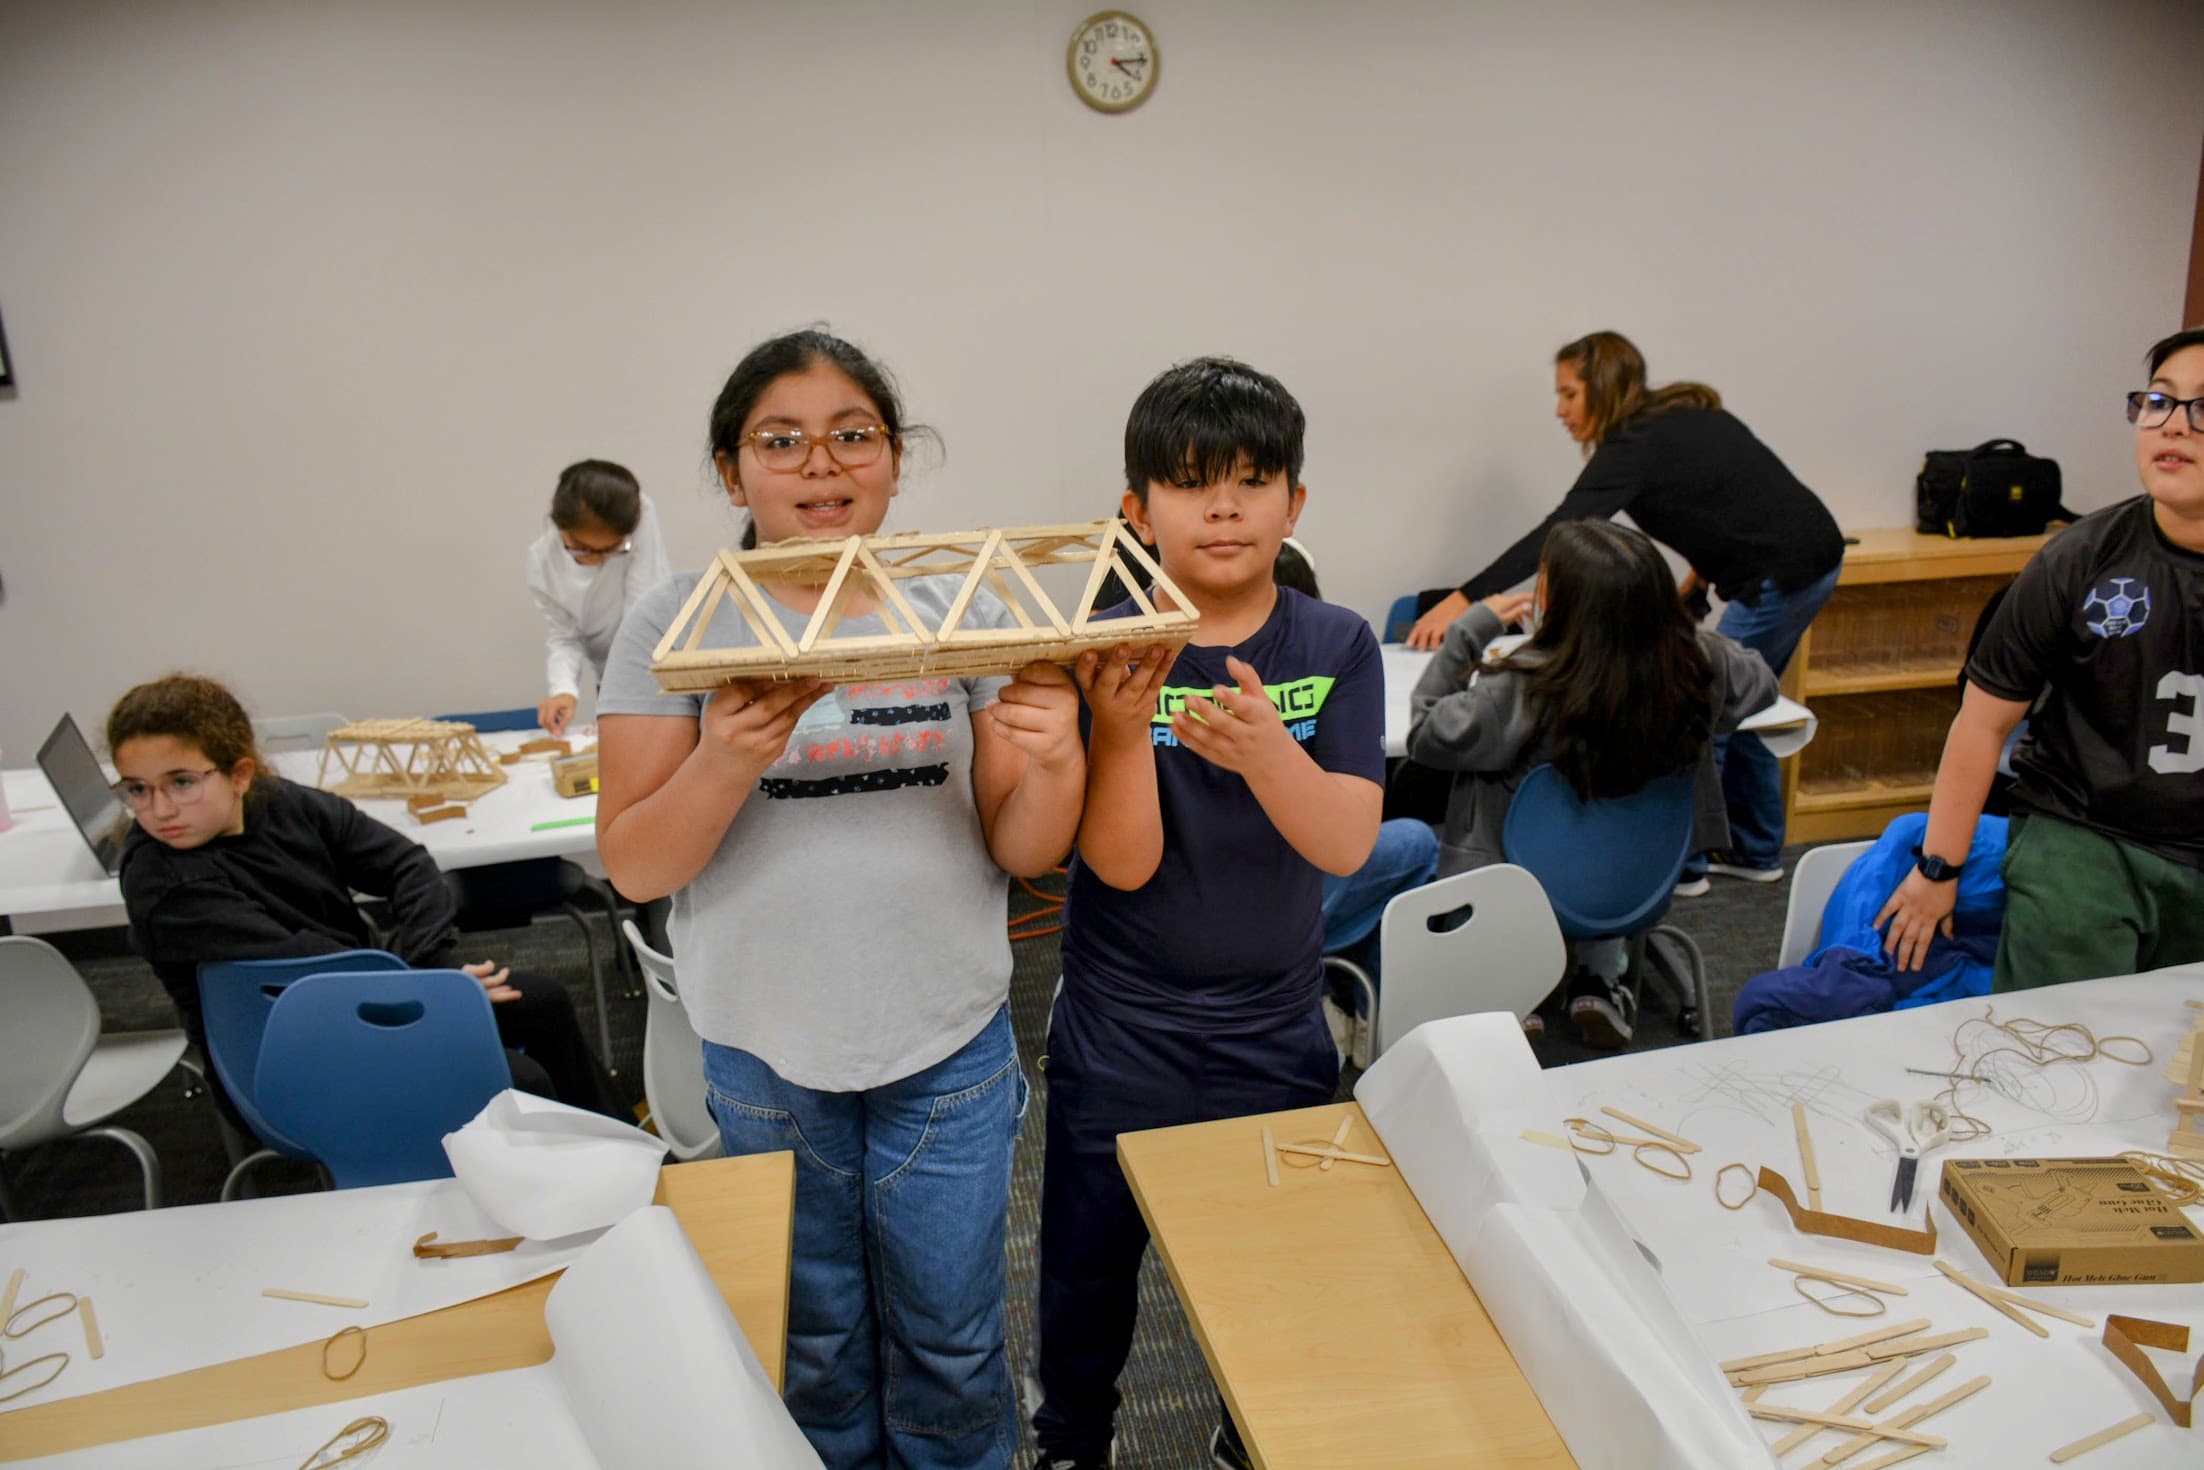
Load testing with coins and washers, then redesigning what buckled.
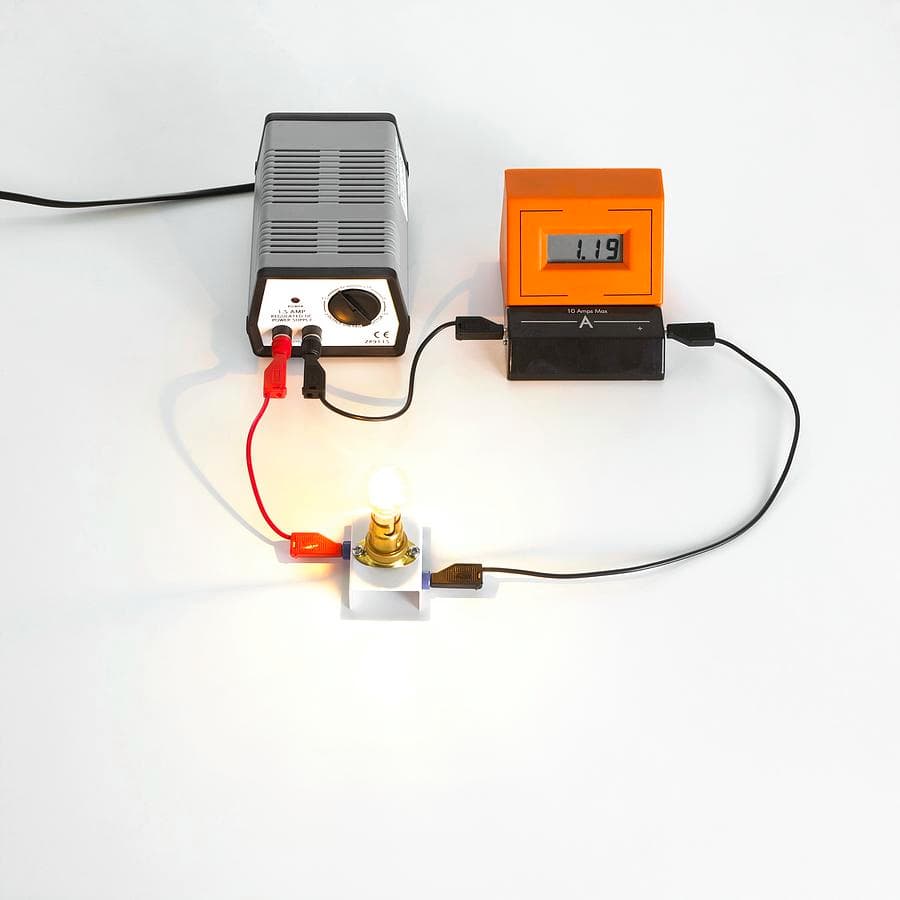
Machines and mechanisms that move, lift, and light up when you build them right.
Paper Tower Challenge
Think Like an Engineer
Bridge or Platform Strength Challenge
Build It Strong
Cardboard Grabber or Mini Crane
Make It Move
Paper Glider or Mars Lander
Design for Flight
Water Filter, Flood Barrier, or Product Redesign
Engineer for People and the Planet
Rescue Mission Design Challenge
Final Engineering Challenge
What students learn
Engineering is a way of thinking, not a subject
Students learn engineering the way engineers actually work: they get a challenge, sketch a plan, build a first version, test it with real measurements, and improve the design. Each week centers on one project built from cheap, everyday materials - paper, cardboard, tape, and string - and one big engineering idea, from stability to simple machines to flight. The course ends with a final challenge that combines everything into one rescue-mission design.
- 6
- Hands-on builds
- $0
- Special equipment
- Explain what engineers do
- Use the engineering design process
- Build and test simple structures
- Understand forces, loads, and stability
- Compare materials
- Improve a design after failure
- Solve problems with constraints
- Complete a final engineering design challenge
The path
Six lessons, in order
Each one teaches an engineering idea, then puts it to work in a build you test and improve. Your progress saves on this device - no account needed.
- 01
Think Like an Engineer
Students meet the engineering design process by building the tallest tower they can from a few sheets of paper and a little tape, then redesigning it to stand taller and steadier.
- Project:
- Paper Tower Challenge
- Time:
- 45-60 minutes
- Concepts:
- Engineering design process, Stability, Prototype, Redesign
- 02
Build It Strong
Students learn why triangles and good supports make structures strong by building a small bridge or platform that has to hold as much weight as possible without collapsing.
- Project:
- Bridge or Platform Strength Challenge
- Time:
- 50-60 minutes
- Concepts:
- Structure, Load, Support, Triangle bracing, Material strength
- 03
Make It Move
Students explore simple machines by building a cardboard grabber or mini crane that uses levers and pivots to reach out, lift, and move a small object.
- Project:
- Cardboard Grabber or Mini Crane
- Time:
- 50-60 minutes
- Concepts:
- Simple machine, Lever, Pivot, Mechanical advantage, Motion
- 04
Design for Flight
Students investigate the forces of flight by building a paper glider or a drop-test Mars lander, then testing how weight and balance change the way it flies or lands.
- Project:
- Paper Glider or Mars Lander
- Time:
- 50-60 minutes
- Concepts:
- Aerospace engineering, Weight, Drag, Balance, Small changes
- 05
Engineer for People and the Planet
Students take on real-world engineering by designing a model water filter, a flood barrier, or a redesign of an everyday product, weighing what real users need against real constraints.
- Project:
- Water Filter, Flood Barrier, or Product Redesign
- Time:
- 50-60 minutes
- Concepts:
- Engineering for people, Materials matter, Constraint, Tradeoff, Design for the user
- Final
Final Engineering Challenge
In the capstone, students combine everything from the course - structures, forces, motion, and testing - to design a system that moves a supply package across a dangerous area and delivers it undamaged.
- Project:
- Rescue Mission Design Challenge
- Time:
- 60-75 minutes
- Concepts:
- System, Combining ideas, Constraints and tradeoffs, Iteration
The method
The loop real engineers use
Students do not aim for a perfect first try. They build something testable, find out what fails, and improve it. The loop repeats until the design meets the challenge.
Ask
Read the challenge and its rules. What has to work, and what are you not allowed to do?
Imagine
Think of a few different ways to solve it. Engineers never start with only one idea.
Plan
Sketch your design and label the parts. Decide what materials each part needs.
Create
Build a first version - a prototype. It does not have to be perfect; it has to be testable.
Test
Run the same fair test every time and write down what actually happened.
Improve
Use what the test showed you to change one thing, then test again. That is redesign.
Shopping list
What to have on hand
Everything is common and low-cost. Gather what you can and add the rest over time - no lesson is blocked by one missing item.
Basic supplies
- Paper
- Cardboard
- Tape
- Scissors
- Ruler
- Pencil
Building materials
- Popsicle sticks
- Straws
- Index cards
- Paper cups
- Paper clips
Motion materials
- String
- Rubber bands
- Brass fasteners
- Small objects to lift
Testing materials
- Coins
- Washers
- Books
- Measuring tape
- Small weights
Optional materials
- Coffee filters
- Cotton balls
- Gravel
- Sand
- Plastic eggs
- Ping pong balls
Good to know
For grown-ups
You do not need an engineering background
The hardest part of running this course is resisting the urge to fix the design yourself. Here is what makes the lessons work.
- Let students test imperfect designs. A design that fails a test is not a mistake - it is the information used to improve it.
- Ask questions instead of fixing the build. "What happened when you tested it?" teaches more than handing over the answer.
- Every lesson ends with reflection and a redesign, so students practice improving their own work.
- Each lesson links to a printable student worksheet and a parent & teacher guide with setup, safety notes, and questions to ask.
Where this fits
Ready to build something?
Start with the Paper Tower Challenge and work through all six lessons at your own pace. Your progress is saved on this device.